
Hello every. Today over on the Mark's Finest Papers, a Heinrich Company blog, I am the Featured Designer for the tutorial series. I've often had people ask how do I get my color coverage by stippling. Today I'm going to show you how to do just that. It's actually really easy once you know the basics and it's a great way to fill in open spaces (i.e.: sky, grass, trees,). You can also distress a project using this technique as well.
To
start off, you need some ink, stipple brushes, and stamped images.
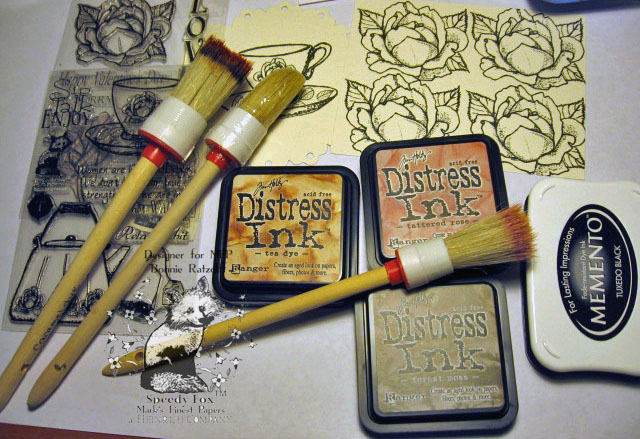
Once
your images are colored and cut out you need to pick up the ink onto your brush
by lightly "pouncing" the brush onto the ink pad , and then you can
begin to stipple the ink over and around the colored images.


Once
you are satisfied with the color coverage, you can move onto the next color,
etc., etc.


Here's
a sample of what your stippled project looks like before assembling.

To add
a vintage touch to your project, tap your brush onto a caramel ink pad,

and pounce the ink onto the
edges of your card until you are again satisfied with the color coverage.

Here's
the completed project.

Thanks for stopping by today. Have a great day and feel free to check out the other tutorials on SpeedyTV.
Beautiful stippling, Bonnie, and a great tutorial. Stippling always gives such a soft vintage look. Love your creation.
ReplyDeleteGreat tutorial, Bonnie! I have tried this before - but it certainly never turned out this awesome. Your tutorial is clear and easy to follow along. The one I saw on YouTube was somewhat all over the place. Thanks for sharing!
ReplyDelete